I know an at home gel manicure and nice nails are the least of many of our worries right now. However, I do realize there are a lot of us sitting at home wanting to combat boredom or learn something new and potentially save money in the long run.
Just think, an at home gel manicure could save you a ton of money in the long run. A gel manicure typically runs around $35 plus tip and lasts 10-14 days. That’s about $80+ a month just on your nails!!! With the light, polish, top and base coat this set will run about $120 and pay for itself after two uses. That’s a MAJOR savings over the course of a year!!!
Check out my post for 10 real life ways to save money and cut expenses.
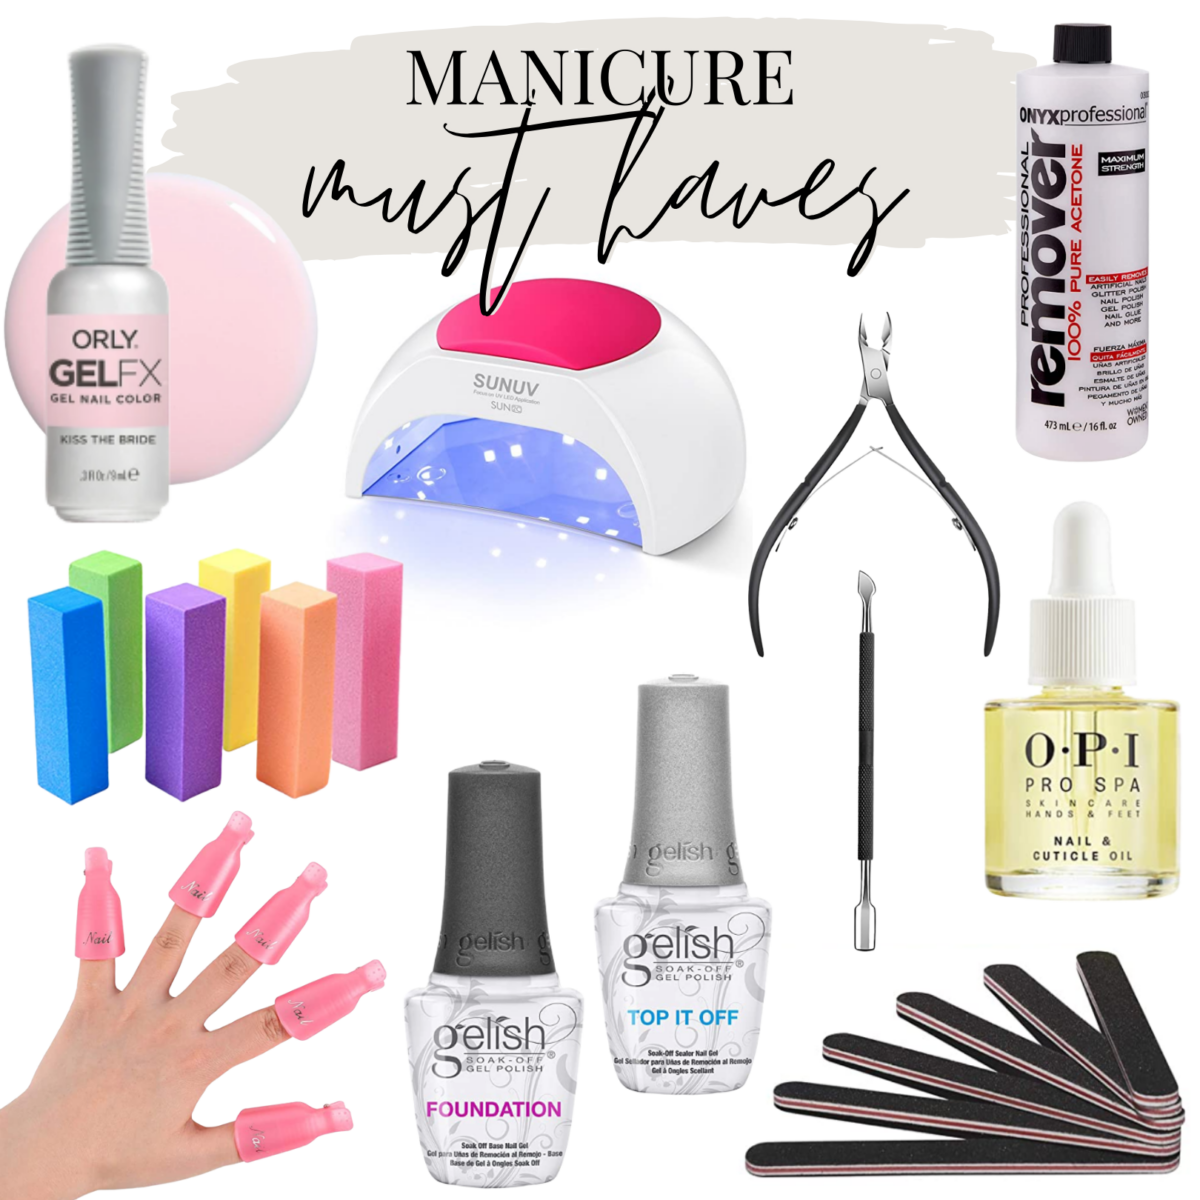
Gel Manicure Must Haves
At Home Gel Manicure Step By Step
1.REMOVING OLD GEL
Use a rough nail file to file off the top coat. Tear cotton balls in halves or thirds and soak them in acetone nail polish remover. Use the nail clips to hold the cotton balls in place and leave on for 5-8 minutes. Remove clips and cotton then use the cuticle pusher tool to scrape off the old gel. If needed push back your cuticles and carefully trim them.
2.BUFF
Use one of these buffing files to remove any leftover gel. By slightly roughing up the nail, this allows the polish to bond better to the nail and last longer.
3. PAINTING
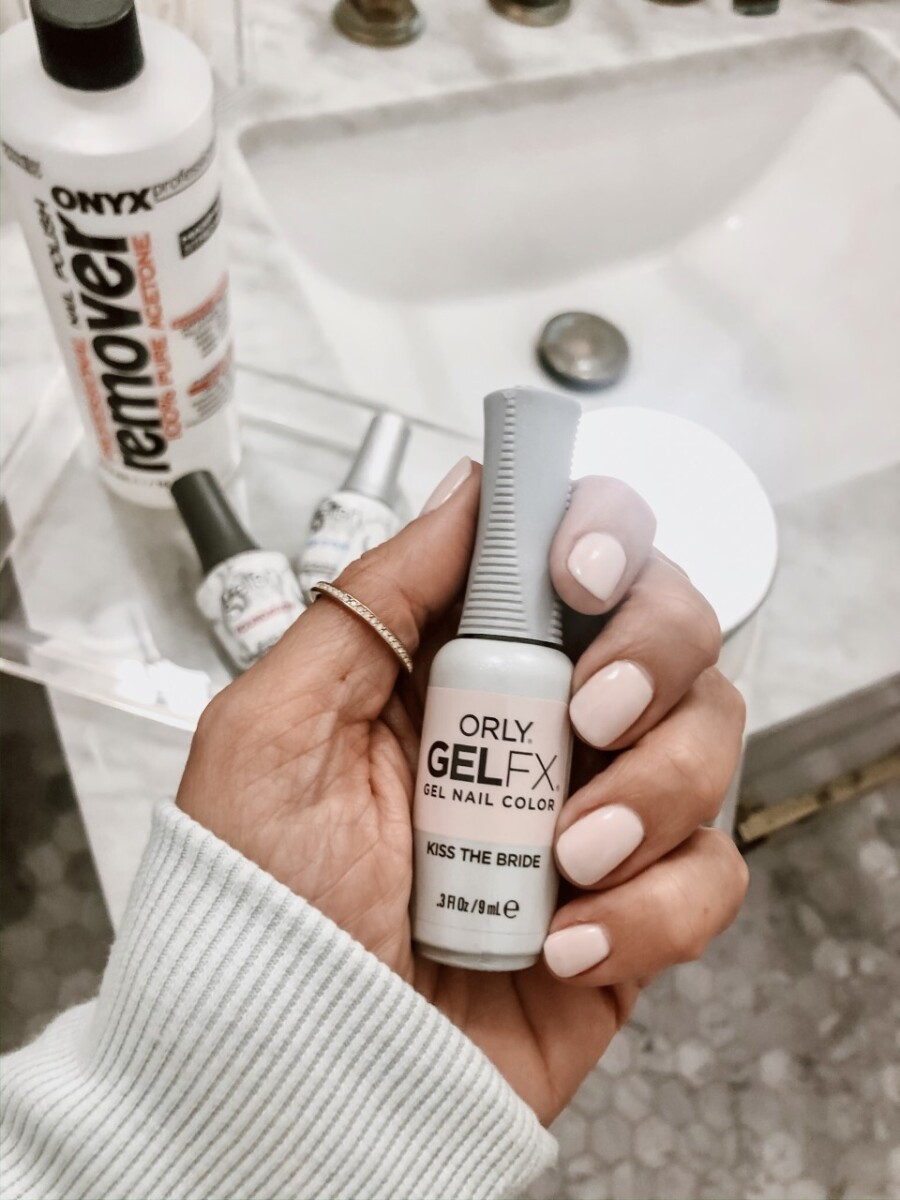
Plug in the LED light and paint the Gelish Foundation base coat on one hand. I linked the cheaper version of this duo but you can also find it here. Be sure to not get any of the polish on your skin. Put your hand in the light for at least 30 seconds. Next, paint a coat of your gel nail polish and put your hand back in the light for 30 seconds. You have to put your hand under the light in between each coat of nail polish. My go to polish is Orly Kiss The Bride and I use three coats. You can use any gel nail polish approved for LED lights. This gel polish pack has really pretty colors for spring and summer. Regular nail polish will not work with an LED light. Last, Use the Gelish Top It Off top coat and leave your hand under the light for 60 seconds.
*LIGHT: I researched lights and asked my friend who owns many nail salons about lights. Cheaper lights are cheaper because they have less wattage and you will have to leave your hand in there longer (up to two minutes) to ensure each coat dries properly.
Gel Polish
4. FINISH
Your nails should be dry but there will be a gooey feeling left on the nail. Use a cotton ball with some alcohol to rub the goo off your nails. They should be totally dry and ready to go. Paint your other hand, File any rough spots and apply cuticle oil.
Do you have any at home gel manicure tips and products you love? Let me know in a comment below!


